Header

Mrs. King at Home About Mrs. King Contact Mrs. King Mrs. King's Music Class HOME Image Map

Music Workstations: Getting Organized

Music workstations are and exciting way to get students motivated in music class.  Learn how to organize and get started with centers in your music class in this blog post.  Picking groups, keeping time, and arranging your space are just some of the topics you’ll discover.  Don’t wait!  Start workin’ the workstations in your classroom!

Workstations are actually learning stations in your classroom.  Workstations used to be called “centers” and I tend to use the terms interchangeably.  Teachers that use workstations with their classes have more time to teach small groups of students.  Wouldn’t it be nice to sit down for ten minutes with a group for three or four children and listen to the sing, tutor them on recorder or just to connect with them?  As music teachers we have such a limited with our students anyway.  We need every single minute we can get and workstations are a great way to use those minutes to their fullest potential.

When I plan workstations, I usually plan them around a concept or theme that I am teaching.  In third grade we do Star Spangled Banner workstations.  In second grade we do Carnival of the Animals centers and 4th-6th grades use centers to practice pitch names and compose and play in small groups.  Many other teachers use centers to explore elements of music like form, melody, rhythm, dynamics, etc…  You may have to experiment to see what works best for you.

 I love creating musical activities for my students to explore at workstations.  This is the first in a series of three blog posts that I’ll use to share what I do in my classroom.  Be sure to check back soon for the next addition to this series.  Today we’re going to talk about getting organized for workstations.  It doesn’t matter if you’ve never experimented with them or use them every week, in order to be successful you must plan for success!

 First take a look at your classroom.  You don’t need much space to do centers, but you do need to clearly define that space.  For example, four chairs in a circle can be a workstation.  Four clipboards, some pencils and a stack of papers can be a workstation.  Three upside down buckets and a box of Boomwhackers can be a workstation. 

Sketch out your room and tentatively plan 4-6 places that you could use.  I usually do this on a scrap of paper, but once upon a time I sketched out my room in PowerPoint using shapes and now I can use it for all sorts of things.   You could also try Class Architect.  This handy dandy teacher tool lets you rearrange or design your classroom from the comfort of your recliner.

Music workstations are and exciting way to get students motivated in music class.  Learn how to organize and get started with centers in your music class in this blog post.  Picking groups, keeping time, and arranging your space are just some of the topics you’ll discover.  Don’t wait!  Start workin’ the workstations in your classroom!
This is the way my classroom is usually setup.  The chairs are set up in such a way that I can be near most students in just three or four steps.  I use chairs most classes with 4th, 5th and 6th grades and the lower grades are usually on the carpet.  Sometimes the chairs are stacked and out of the way for movement or workstations.

Music workstations are and exciting way to get students motivated in music class.  Learn how to organize and get started with centers in your music class in this blog post.  Picking groups, keeping time, and arranging your space are just some of the topics you’ll discover.  Don’t wait!  Start workin’ the workstations in your classroom!
No, I don't actually do 8 workstations at a time with most classes.  Usually I do 4-6.  I wanted to have a plan for more than that so that I had options.  Sometimes I want students to be near the Boomwhackers or rhythm instruments, sitting around my bookshelf or on the carpet with iPads.  After sketching it out I found lots of places for stations! 


While you are planning consider these things
1.        We make music.  Sometimes this sounds like noise to the untrained ear.  Sometimes to the undisciplined child it IS making noise.  Plan to separate noisy activities so that it doesn’t become a contest to see which group can be the loudest.
2.       Specify specific areas for each station.  Designate specific spaces for each workstation by turning 4 chairs together, using a student desk to organize supplies, laying down a tablecloth or rug or rearranging classroom furniture.  When I stack my chairs up and push them out of the way for centers I will throw down a tablecloth to designate the area I expect them to stay in.  I use the plastic kind with a flannel backing.  They wash easily and stay in place.
3.       It is likely that students will need supplies like pencils and clipboards in more than one workstation.  How will that work?  Will you put the supplies in each station?  Will there be a central place for students to get supplies?
4.       Not every station needs to be hardcore, higher level thinking, essay writing, sonata composing types of activities.  Plan at least one ridiculously fun station!  Sometimes it DOES cause an incredible amount of higher level thinking, but the kids will just think it is fun.
5.       If you teach multiple grade levels during the day think about how your set-up can be modified to be useful with varying age groups.
6.       Don’t forget to plan how you will store all of your supplies.  I started with just a few folders and 2 Bop-Its.  Now?  Well…I love workstations so much that I have had to expand my storage space and find a way to organize that allows me to quickly find and set-up  5-6 centers in about 5 minutes.

Music workstations are and exciting way to get students motivated in music class.  Learn how to organize and get started with centers in your music class in this blog post.  Picking groups, keeping time, and arranging your space are just some of the topics you’ll discover.  Don’t wait!  Start workin’ the workstations in your classroom!

Music workstations are and exciting way to get students motivated in music class.  Learn how to organize and get started with centers in your music class in this blog post.  Picking groups, keeping time, and arranging your space are just some of the topics you’ll discover.  Don’t wait!  Start workin’ the workstations in your classroom!
Organize Your Class Time 
·         Plan a series of centers and devote 10-15 minutes each class period.  Students rotate to a new station at the end of each class period.  If you choose this method, be sure to keep track of which activities each group has completed.  This doesn’t work well if you only see your kids for 30 minutes at a time.
·         Create centers to focus on a concept you are working on:  “Star Spangled Banner”, identifying pitch names, musical opposites, etc…  Plan to do these centers for 1 or 2 class periods (45-60 minutes) or 3 to 4 class periods (for 30 minute classes).   When working with this kind of set-up take time to go through each center describing the activity and your expectations before dividing into groups. 
·         Plan centers that focus on a variety of areas like singing, composing, moving, reading music, writing, listening, etc...  These centers could be used with multiple grade levels by slightly altering the activities. 

Picking Groups
·         Do it!  Pick them yourself!  You know who can work together.  Your classroom does not have to be a democracy.
·         Use an app to create groups.  Try Happy Class or Teacher’s Pick.
·         If you plan on keeping the same groups all year, ask students about their preferences before you begin.  On a small slip of paper have them write who they would like to work with and who they would not like to work with.  It still won’t be perfect, but it may make you aware of some relationships to avoid.

Keeping Time
If you are doing multiple centers in one day, introduce the centers first and then divide students into their first rotation.  Once they are in their first center divide the remaining amount of class time by the number of centers you have set up.  This is how many minutes they’ll have at each one.  Plan a couple of extra minutes after the last one for clean-up.

Project these free timers so the class can see how much time they have left at each station:
Classroom Timers
Cool Timer (my favorite!)

Do you use workstations in your music class?  What are some of the ways that you organize for success?  Let me know in the comments section or link me up to pictures or posts on the topic.  I'm always ready to learn more about workin' the workstations.

In my next blog post we'll talk about all of the fabulous things students can do in workstations.  Click here to read it now!


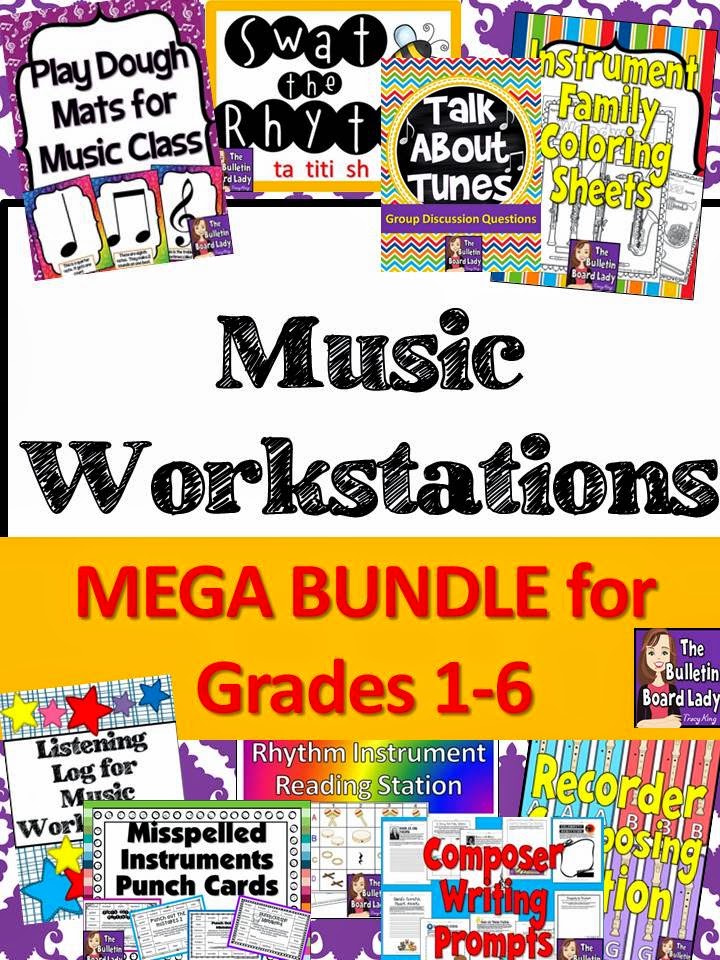
You might like this file in my store!  It is a MEGA Bundle of Music Workstations.
http://www.teacherspayteachers.com/Product/Music-Workstations-MEGA-Bundle-1292712

Music workstations are and exciting way to get students motivated in music class.  Learn how to organize and get started with centers in your music class in this blog post.  Picking groups, keeping time, and arranging your space are just some of the topics you’ll discover.  Don’t wait!  Start workin’ the workstations in your classroom!


Perfect Poolside Planning: A Year of Bulletin Boards

Teachers are a funny group of people.  We often spend the last month of school counting down the days until summer break only to spend most of our summer break planning to get back to school!  I’m joining with some amazing music educators to help you with your perfect poolside planning.  As the Bulletin Board Lady, I’m going to talk to you about planning your bulletin boards.

 
For some people “planning” a bulletin board means scrambling for an idea and the time to put it together during the last few days of the month or close to a holiday or event that may have parents roaming the halls.  Taking a few minutes before the school year to plan your bulletin boards can save you some of that last minute stress.  I know this may seem like a totally new concept, but let’s try it!
 
I know that some teachers put up one bulletin board and leave it up all semester or all year.  I prefer to change them every month or possibly every other month.  This year we had 24 snow days so I had a bulletin board up for January and February but only about 20 days of school!  If you change your bulletin boards less frequently than once a month planning ahead may make this easier.
 
Step 1: Brainstorm
What themes do you want to focus on this month?  What holidays could you recognize?  What performance group could you focus on?  What musical concept could you teach with a bulletin board display?

August:  Welcome Back, Music Room Rules, Music Advocacy, summer and beach themes…
September: Welcome Back, Music Room Rules, Music Advocacy, Patriot’s Day, apples, fall, Grandparent’s Day…
October:  fall, Halloween, pumpkins, harvest, audience behavior, student showcase (highlight a performance group or class for parent-teacher conferences)…
November: fall, Thanksgiving, Native American Music, Veteran’s Day, careers in music…
December:  Christmas, Hanukkah, Kwanzaa, winter, concert etiquette, student showcase from a concert, ways to give the gift of music…
January:  winter, New Year, Martin Luther King Day, snow, sledding, icy sports, winter games…
February: Valentine’s Day, Groundhog’s Day, President’s Day, Black History Month, jazz, blues…
March: Music in Our Schools Month, music advocacy, St. Patrick’s Day, student showcase, music and visual arts…
April:  Spring, music and poetry, nature, Earth Day, recycling, countdown to summer, celebrate student musicians
May: Spring, countdown to summer, Memorial Day, Mother’s Day, a look back on the year…
June:  summer, graduation, Father’s Day, beach, swimming, camping, amusement parks
July:  Independence Day, fireworks, BBQ, sailing and boating, vacation, world music…
 
Step 2:  Sketch it Out
Take a few minutes to make a quick sketch of what you’d like to do with your bulletin board.  You can start from scratch or browse some amazing bulletin boards at www.musicbulletinboards.net or at TeachersPayTeachers.   Try using this bulletin board planning sheet to help you organize your ideas.
 
Here are a few of my sketches and the finished bulletin boards.  They don’t always work out quite like I plan, but with a plan I always have a place to start.

August:  Back to School bulletin board.  I was looking for something eye-catching that would get students talking about music.  Bonus if it makes me look cool!
Finished project was close to the original.  This bulletin board kit is available here.  The pool noodle light sabers were inspired by several different blogs.  Mine are quite simple compared to some of the elaborate ones you can google.


Next is a bulletin board that I created to leave up all year.  I used it above my supply table that stores pencils, paper, folders, etc...

This was a little tricky.  I tried several different things to keep this up.  Eventually I discovered that good old masking tape was the best choice.  Who knew?  This is also now available as a kit you can download

I adopted the hall bulletin board at one of my schools.  In addition to celebrating music, I like to create bulletin boards with  a character education theme.  The topic for this one was bullying.


October is such a fun time to make bulletin boards.  I often have a hard time picking a theme.

 
These pumpkins are from Oriental Trading.  Although I didn't use it for this board, this board inspired the Percussion Patch bulletin board kit.
 
 
Brrrrr!  The winter months offer many themes for bulletin boards and many opportunities to teach through classroom displays.  For this board I wanted to focus on careers in music.  There's no business like SNOW business!

 
Ah!  The end of the year can be a time to countdown the days until summer break, celebrate successes and look back on the year.  This board does it all.  It's also quite a conversation starter!

The countdown sheets are a part of my This Year Rocked kit.  I took great joy in changing them every morning and some of the students really looked forward to the countdown.  The pictures were from all through the year including a concert the week before.  I love seeing all these joyous faces making music!
 
Step 3:  Prep as Much as You Can
Download, print, cut, laminate…what kinds of things can you do in advance?  Do it.  Put these pieces in a file folder with your planning sheet.  Refer to the sketch when you are ready to display.  In the last year or two I purchased a personal laminator to use at home.  I love it.  I love it so much!  I often laminate my stuff at home just because I think its fun!  :-)
 
I hope that these tips will help you create a beautiful and inviting classroom.  A little bit of planning can save time and stress later.  Speaking of planning…click through the rest of this blog hop to find more tips about planning for success in your classroom.  Click all the way through back to this blog to make sure you don't miss a single tip!
 
  http://www.musicalaabbott.com/2014/06/perfect-poolside-planning-concert.html 


Punch Cards in Music Class

So, have you ever had an idea that just bugged you until you sat down and got it started?  Well for the last couple of months it has been PUNCH CARDS.   Sounds weird, huh?  I have several decorative hole punches.  One punches hearts, another music notes and another a little star.  I've wanted to find a way to incorporate them into my workstations rotation and I think I've done just that!

These are the Instrument Family Punch Cards.  Around the edge are the names of instruments.  Each card asks students to punch the name of all of the instruments in a specific family.  What a fun way to do student assessment!
http://www.teacherspayteachers.com/Product/Misspelled-Instruments-Punch-Cards-1263924

My plan is to use the Instrument Family Punchers with 3rd graders.  We do a BIG unit on instruments of the orchestra.  This in combination with the instruments exit tickets will be a great way to do formative assessment.

With fourth grade I do a general review of instruments and add some spelling games during line-up time or if we have a few minutes left at the end of a period.  I think I'll try out the Punch Out the Mistakes set with them.  They have to find the five misspelled instruments, write them with correct spellings on the back of the card and punch out the incorrect spellings.

 More than a reward or an incentive, these punch cards are a fun way to assess student knowledge.  Use them in your classroom like an exit ticket or maybe part of a workstation rotation.  Student engagement and behavior aren’t a problem with this great idea!
I've also created some cards to help students differentiate between words that describe dynamics and words that describe tempo.  These are a little bit tricky for some students.  I'm looking forward to seeing if a little extra time on the topic will improve their understanding.  Take a look at those HERE.

You can get these punch cards at my TpT store.  I'll be adding them to my other stores later.  I'll be creating some for note identification, pitch identification and rhythm identification.  Can't wait to get started on these!  Do you have any ideas for things we can punch in the music room?

More than a reward or an incentive, these punch cards are a fun way to assess student knowledge.  Use them in your classroom like an exit ticket or maybe part of a workstation rotation.  Student engagement and behavior aren’t a problem with this great idea!